Footy Tips

1. Perform ‘Under Colour Removal’ (UCR) on your files.
Under Colour removal (UCR) is a process whereby you eliminate overlapping yellow, magenta and cyan that would normally add to a dark neutral (black) and replace it with black ink only ie a ‘Full Black’. This is done during the colour separation process. Replace the coloured inks with black in shadowy or neutral areas to reduce the risk of mottling or a muddy look which can happen with excessive ink coverage.
2. Use the right colour profile.
Start with your images in RGB then convert to CMYK uncoated profile. Domestic printers work with CMYK and are therefore able to create a narrower range of colours.
3. Choose the right paper to match your imagery.
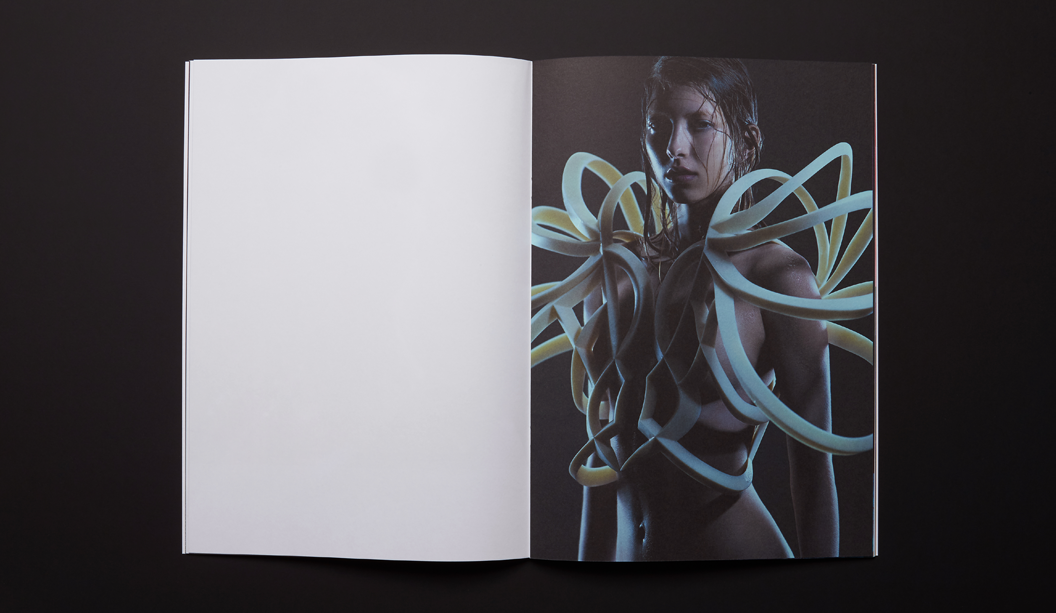
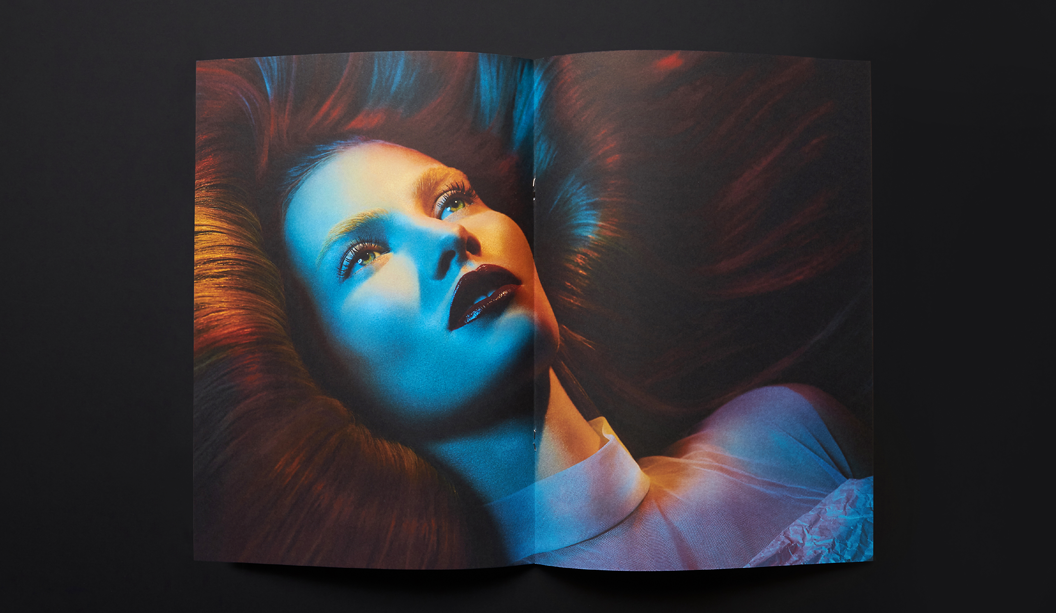
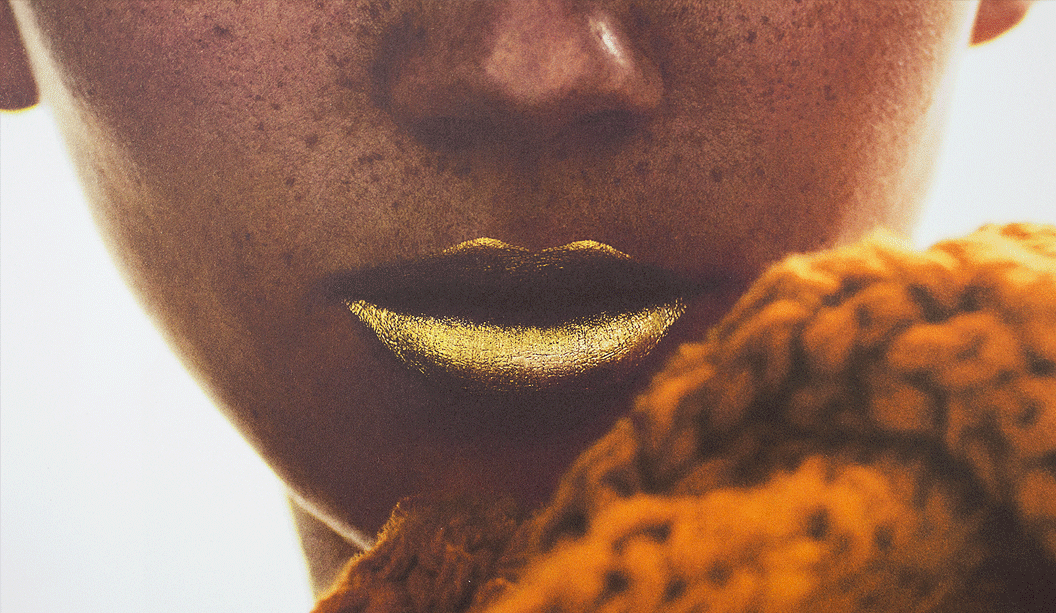
We know, we know, it seems so obvious but sometimes it’s still not considered. When reviewing your proofs, keep the shade of paper you’re actually printing on in mind eg if using a creamy white paper you may want to reduce the yellow (especially with skin tones). With a blue white paper you might want to take out some cyan. Proofs are often on a coated paper so consider this too. Best papers to use if printing lots of photography with skin tones is all papers really, but these kinds of images really lend themselves to blue-white uncoated papers.
4. Ask to see samples.
We have loads of samples on-hand. Some with specials, embellishments, specialty covers etc and if we don’t have it, we’ll find it! Let your paper specialist know the desired result you want and they’ll work backwards with you to find the best paper and print method. They really know their stuff when it comes to matching paper with imagery.
5. Print production is key.
This involves preparing the files as mentioned, checking the proof and also making sure that when on press, you consider some things eg you can make minor adjustments to colour and density but mostly this should be done in the pre press stage. And most importantly, allow for dry back. When on press, approve the sheet that comes off and then ensure you allow for dry back, so increase the ink pressure by about 10%.